
How to Stream Games from Your Xbox One to Your Windows 10 PC or Tablet
By now, you’ve surely heard that you can play Xbox One games on any Windows 10 PC or tablet. You’re probably eagerly asking: “How!?” The answer is: “It’s actually surprisingly easy, to be honest.” There’s really not much to it. Check out Major Nelson’s tutorial video above, and let’s walk through it:
Step 1: Plug in and set up an Xbox One controller on your Windows 10 PC or tablet Windows 10 PCs already have native support for Xbox One controllers. Just plug the controller in via the USB cable that came with it, wait for the drivers to install, and you’re good to go. It’ll vibrate when it’s ready to use. Easy!
Step 2: Launch the Xbox app for Windows 10. It’s free, and built into Windows 10. Also easy!
Step 3: Create an Xbox Live account, or sign into your existing account. After launch, you should see the Home screen, and a prompt to either log into your account or create a new account. It’s a simpler process than ever, as well as free. Just follow the steps you’re given; you should hopefully have some experience logging into accounts for things, if you’re on the Internet reading this!
Step 4: Turn on your Xbox One. It might be easier to set it up in the same room as your Windows 10 PC so you can see both at once – but it’s certainly not necessary, if you don’t mind moving back and forth should you need to double check any info.
Step 5: Connect your devices. Make sure both your PC and your Xbox One are on the same wired or wireless network (wireless networks should have the same name). Then, on your Xbox One, navigate to the Preferences section of the Settings menu, and make sure the “Allow game streaming to other devices” box is checked. Next, in the Xbox app on your PC, go to the left-hand navigation and click on “Connect.” You should see your Xbox One listed as a connection option (in certain circumstances, it will already be connected – for example, if you’ve previously connected in the past). Simply click on your console’s listing, and the app will handle the rest. If you’re having trouble connecting, try restarting the app.
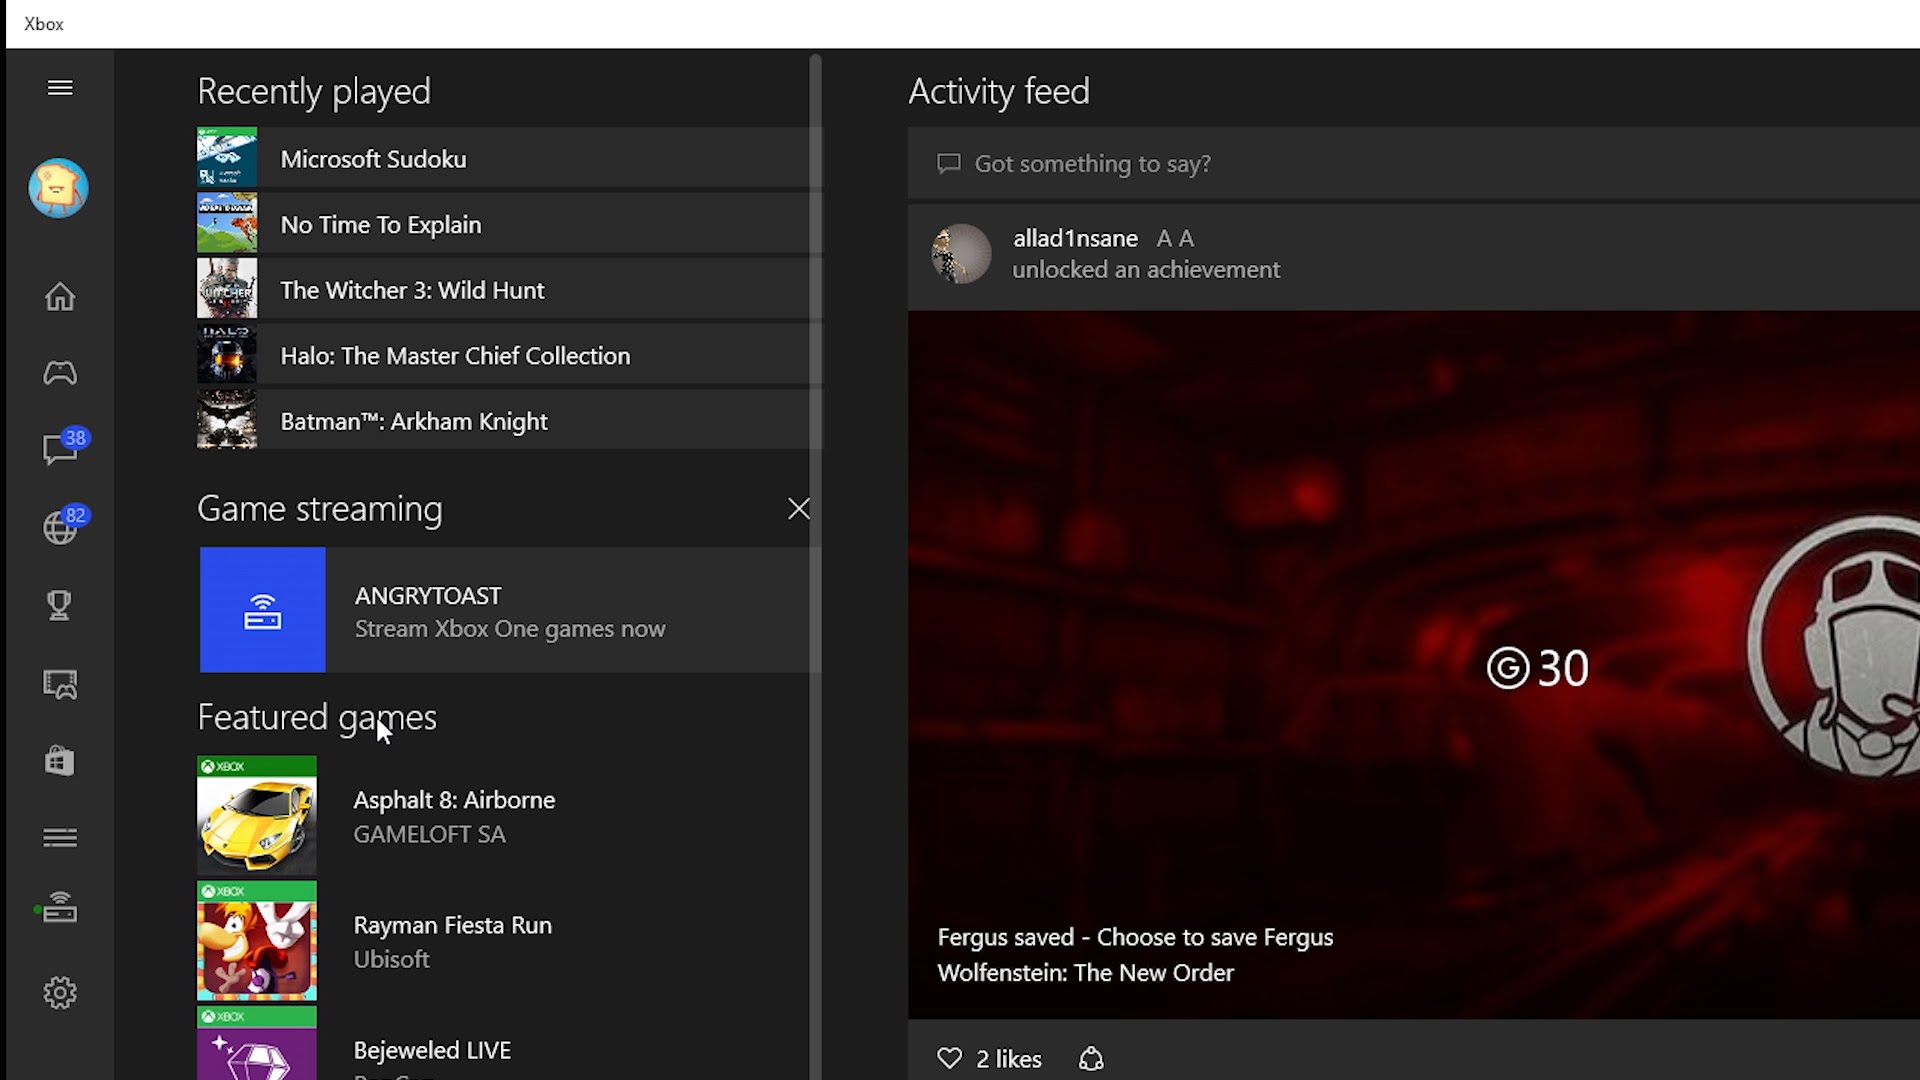
Step 6: Stream those games! Go to the Xbox app’s Home menu, then select a recent Xbox One game from the Recently Played list, then “Play from Console” to start streaming. Alternatively, you’ll notice two live buttons in the “Connect” area: “Test Streaming” and “Stream.” You can use “Test Streaming” for troubleshooting, or to test your connection, but “Stream” is where the magic happens. Click that, and your PC will establish a live stream immediately to your Xbox One. A full-screen interface will pop up, and your controller (the one connected to your PC) will be in charge. You will be able to play whatever game is currently running on your Xbox One, completely live. You can launch the game via your Xbox One, or launch it through the Xbox app (although, if it’s a physical disc game, remember that you will have to physically put the disc into the console yourself – there are limits to what streaming technology can do!).
You can also access all Xbox One menus, talk to friends via Xbox Live, play online (if you have Xbox Live Gold on Xbox One)… heck, you can even play Xbox 360 games through Xbox One Backward Compatibility, all on your PC!
Step 7: There is no Step 7. That’s it! Seriously. There are really just six steps. And since Step 1 was “plug in the controller” and Step 2 was “fire up the Xbox app”, let’s be honest here: That’s really four steps. Pretty darn simple!
Oh, don’t forget that voice chat works just fine too; you’ll just need to plug a Windows 10 compatible mic into your PC or tablet, so you can talk with your friends over Xbox Live via streaming, too!